Chimney Cap Replacement Services Overview
Visitors can learn about chimney cap replacement options and compare local contractors who provide these services.
- - Residential homeowners seeking chimney cap replacement to protect their fireplaces and prevent debris buildup.
- - Commercial property managers needing reliable local contractors for chimney cap repairs on business premises.
- - Home improvement enthusiasts wanting to compare local service providers for professional chimney cap replacement services.

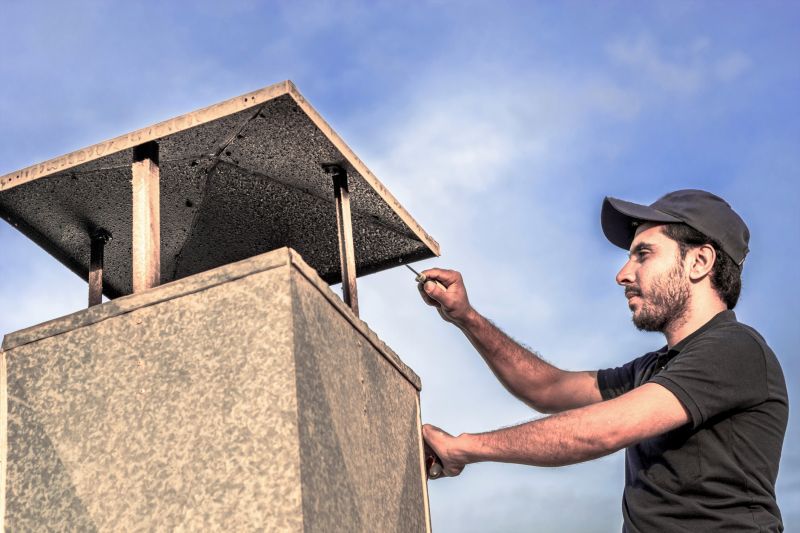
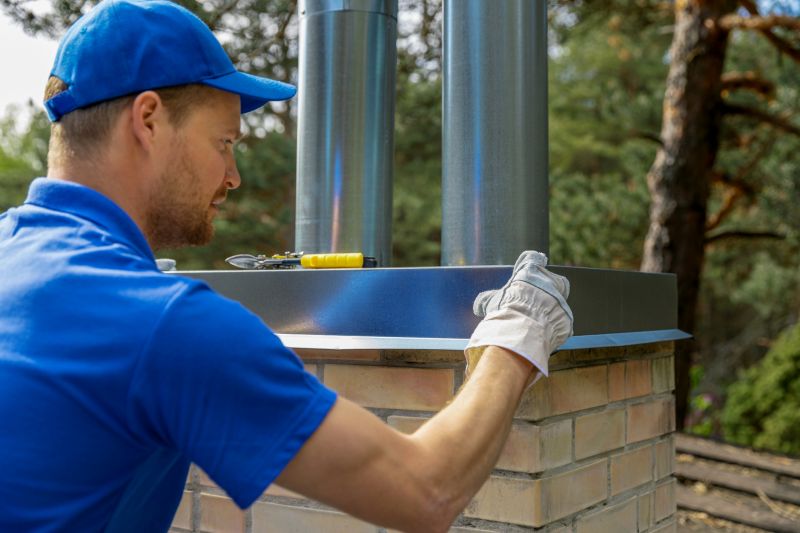
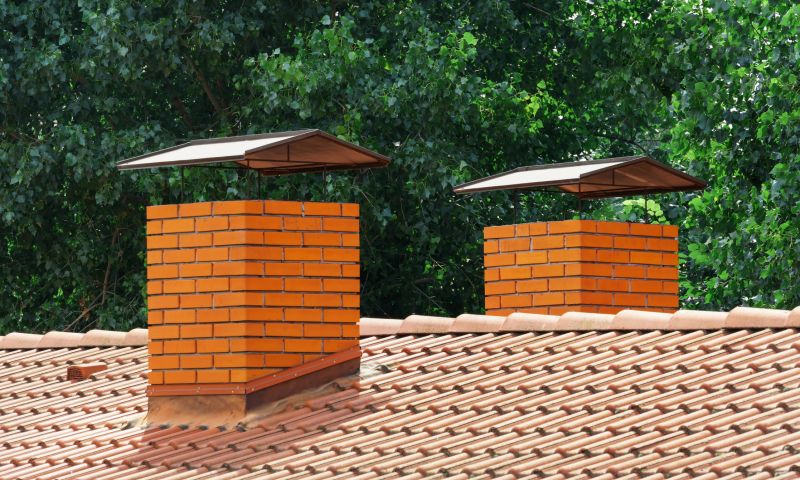
Chimney cap replacement services are essential for maintaining the safety and functionality of a chimney system. Over time, chimney caps can become damaged, corroded, or worn out due to exposure to the elements. Property owners often seek out local contractors who specialize in inspecting, removing, and installing new chimney caps to prevent issues such as water intrusion, animal entry, and debris buildup. These professionals typically handle a variety of chimney cap types and ensure that the new caps are properly fitted to protect the chimney and extend its lifespan.
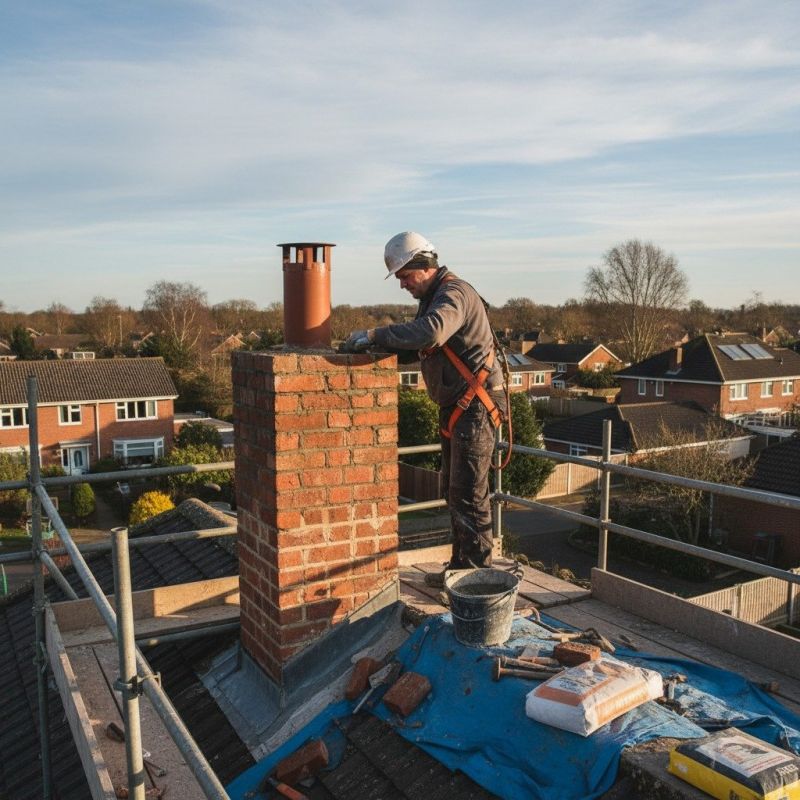
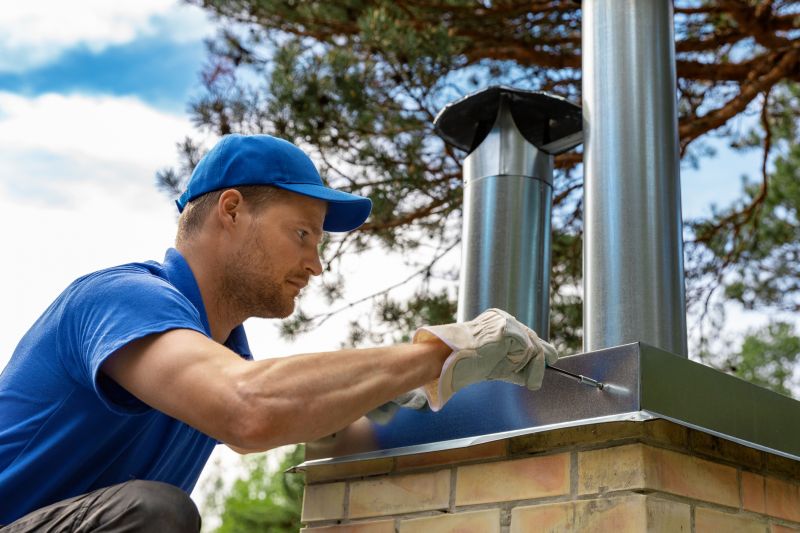
Local service providers in this category are experienced in addressing common problems associated with aging or damaged chimney caps. Whether a cap has been dislodged, rusted, or simply needs an upgrade, these pros can assess the situation and recommend appropriate solutions. They handle the work efficiently, ensuring that the new chimney cap is securely installed and functional. Property owners can expect to connect with knowledgeable local contractors who understand the importance of a properly maintained chimney system and can help find the right replacement to suit their specific needs.
This guide helps homeowners understand the key considerations for chimney cap replacement projects. It provides information to compare local service providers and connect with qualified contractors in the area. The focus is on empowering visitors to gather the basics needed to make informed decisions about their chimney cap needs.